2,768 REVIEWS
Pumpkin Tips To Try This Halloween

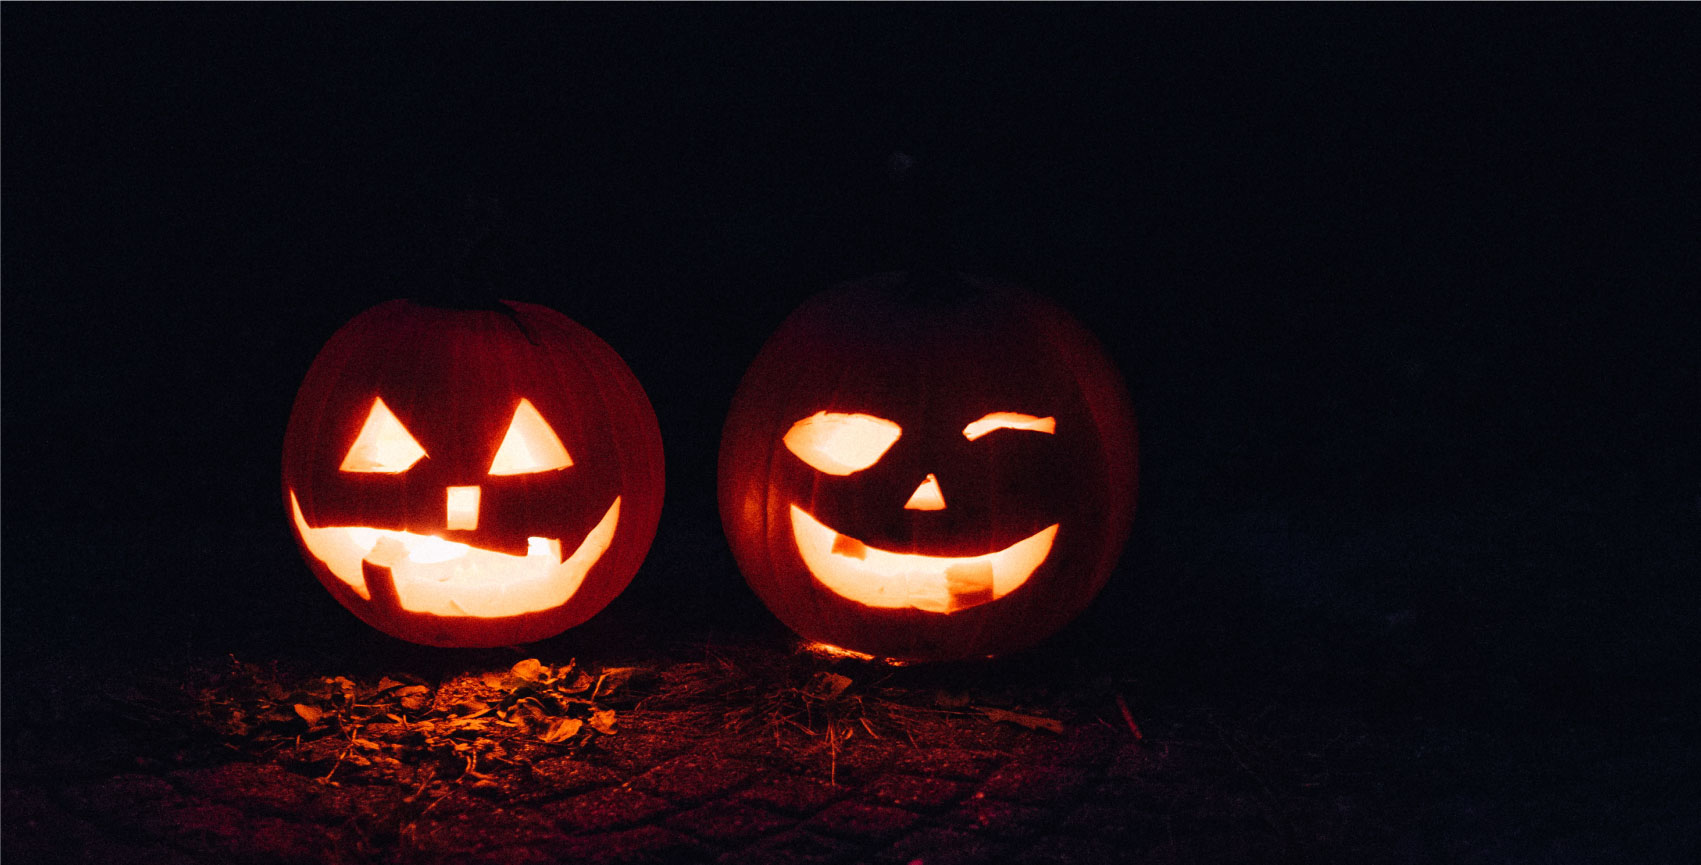
While Halloween might be a little different this year from what we are used to, here at Chessington Garden Centre we still think there is some fun to be had. We will be bringing you some fun tips to keep the kids entertained. Here we start with something that is quick, fun and easy to do multiple times. The Pumpkin.
These pumpkin carving tips are our treat (not trick!). We have some little known secrets to the perfect pumpkin with easy scooping and carving techniques.
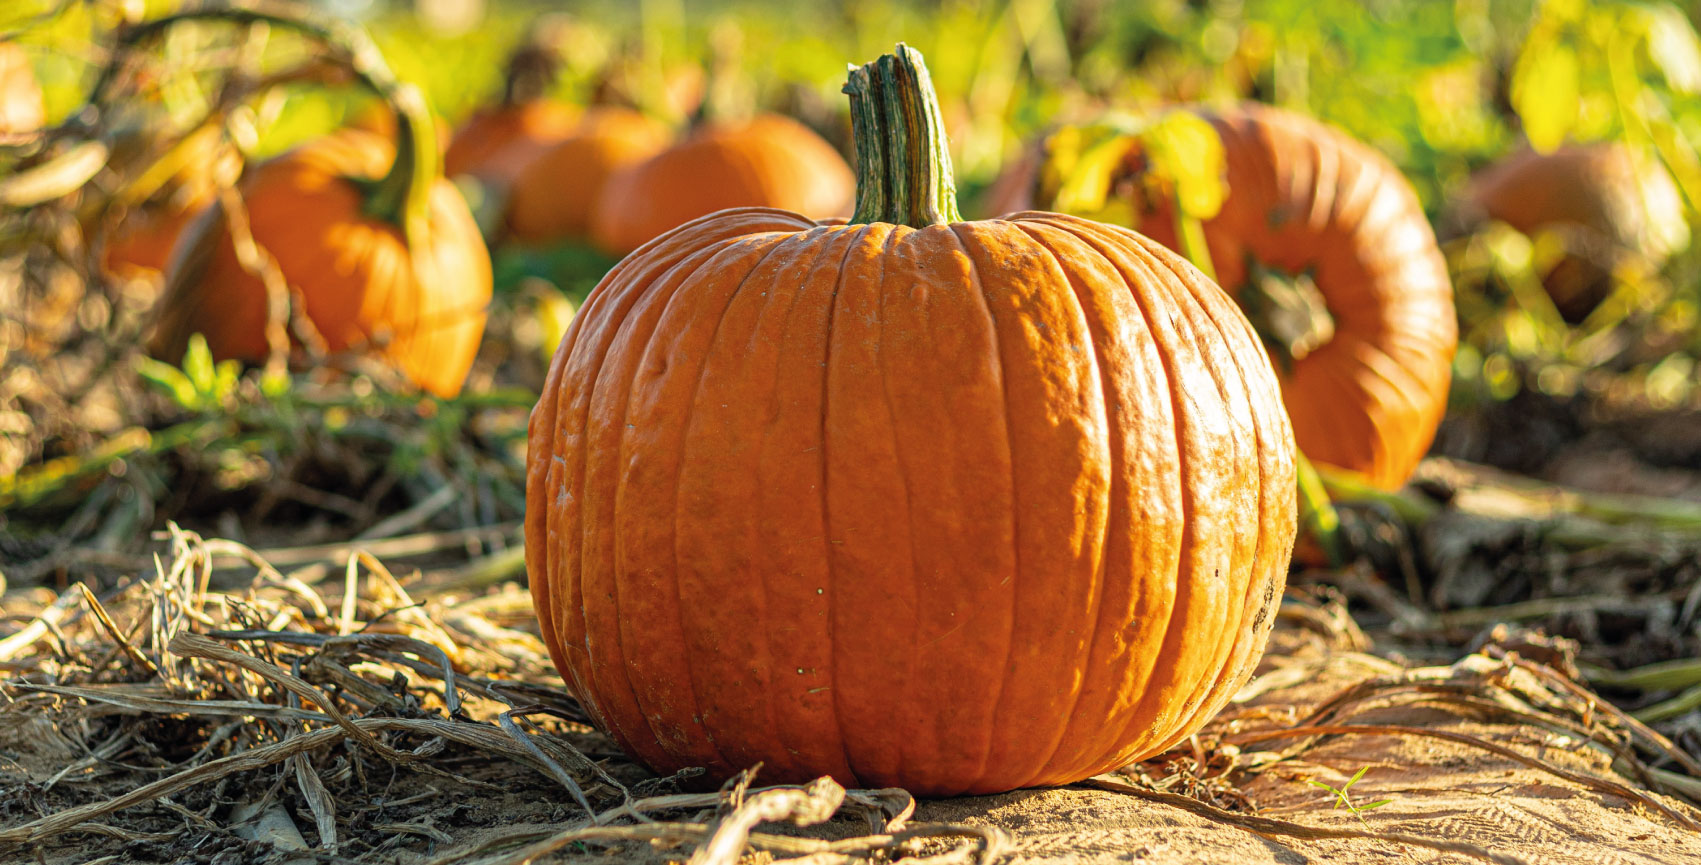
Pick the Perfect Pumpkin
The very first of the pumpkin carving tips you need to know is that picking the perfect pumpkin is key. Do you have a design in mind or are you going freehand? If you have thought about the pattern then you'll need to think about the height and width. A nice tall Witches Hat might need a nice tall pumpkin however something wider like a black cat might suit a wide pumpkin.
Once you have the size sorted, give your pumpkin a bump with your fist. A hollow sound indicates it’s riper and easier to carve. Finally, test the pumpkin’s stability by placing it on a flat surface before purchasing it. No wobble? You’re ready to carve!
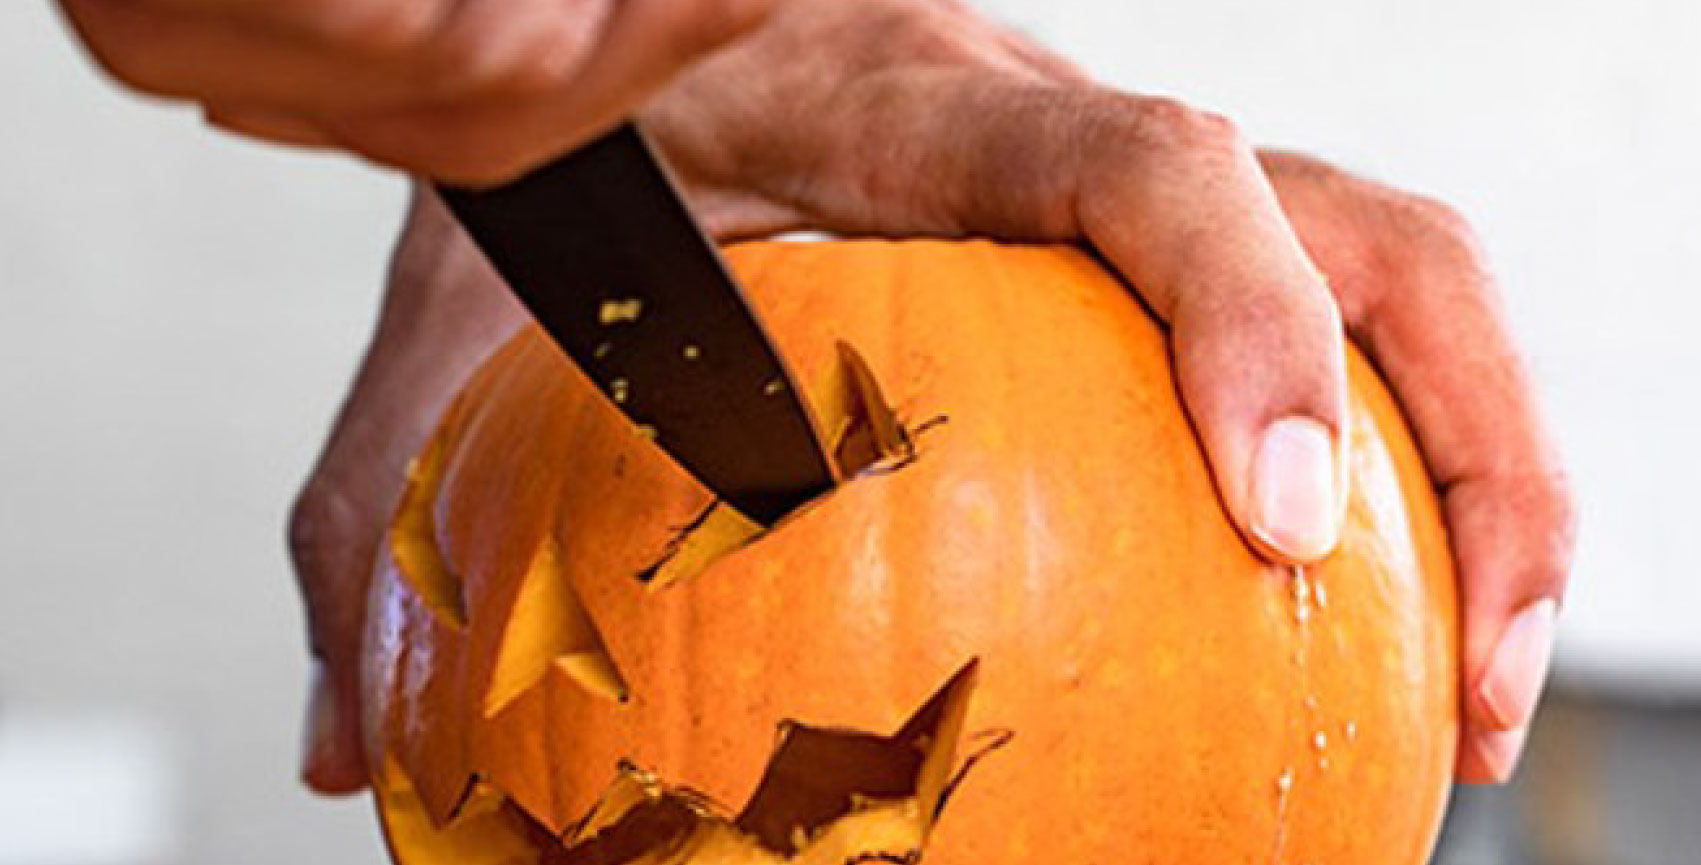
Room to Scoop
Give yourself (and the little ones) more room by being generous with the carving of the top of the pumpkin. Often a mistake many make is that they don't give themselves enough room to really get in and start carving. Another tip for the more experienced carvers is the carve a key shape starting from the start around the stem and extending down the side. The more room you have the easier you'll find carving.
Get comfortably
It may be messy but placing your pumpkin in your lap will allow for much greater control. No knocks, no slips, no mistakes. With the pumpkin’s “face” looking up at you while holding it in your lap you'll be able to see exactly what you are doing.
We would advise using an ice cream scoop or large, sturdy spoon to greatly increase your pumpkin seeding speed.

Timing is Key
Pumpkins unfortunately will start molding within days of breaking their skin. You have two options, carve your pumpkin a couple of days before Halloween or even earlier with this handy technique.
You should coat the whole surface with petroleum jelly or household vaseline (including the inside). The jelly seals the moisture and slows down the pumpkins dehydration, it is so simple and allows you to show off your masterpiece to all your friends and neighbour much earlier.
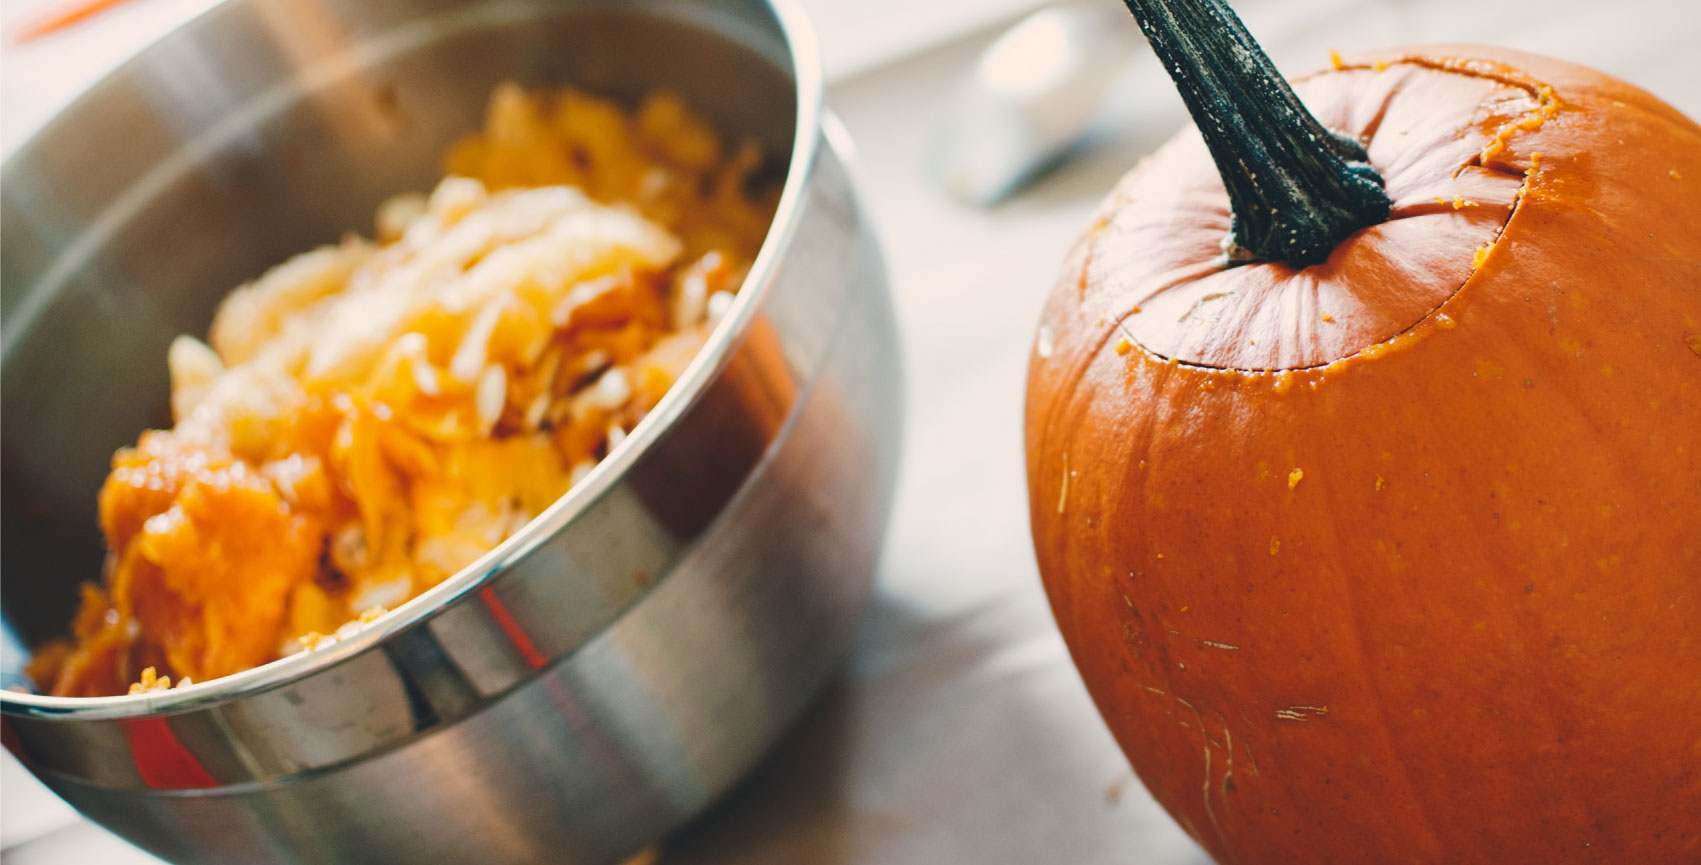
Don't waste any scraps
Use the innards for a whole host of Halloween Snacks and Treats. With your leftover pumpkin pieces, whip up some pumpkin pancakes, pumpkin risotto, pumpkin pickles, and more,
With the more chunky pumpkin pieces, you can get creative and carve small pieces to really add to your pumpkin, eyes, a nose, even a tongue.
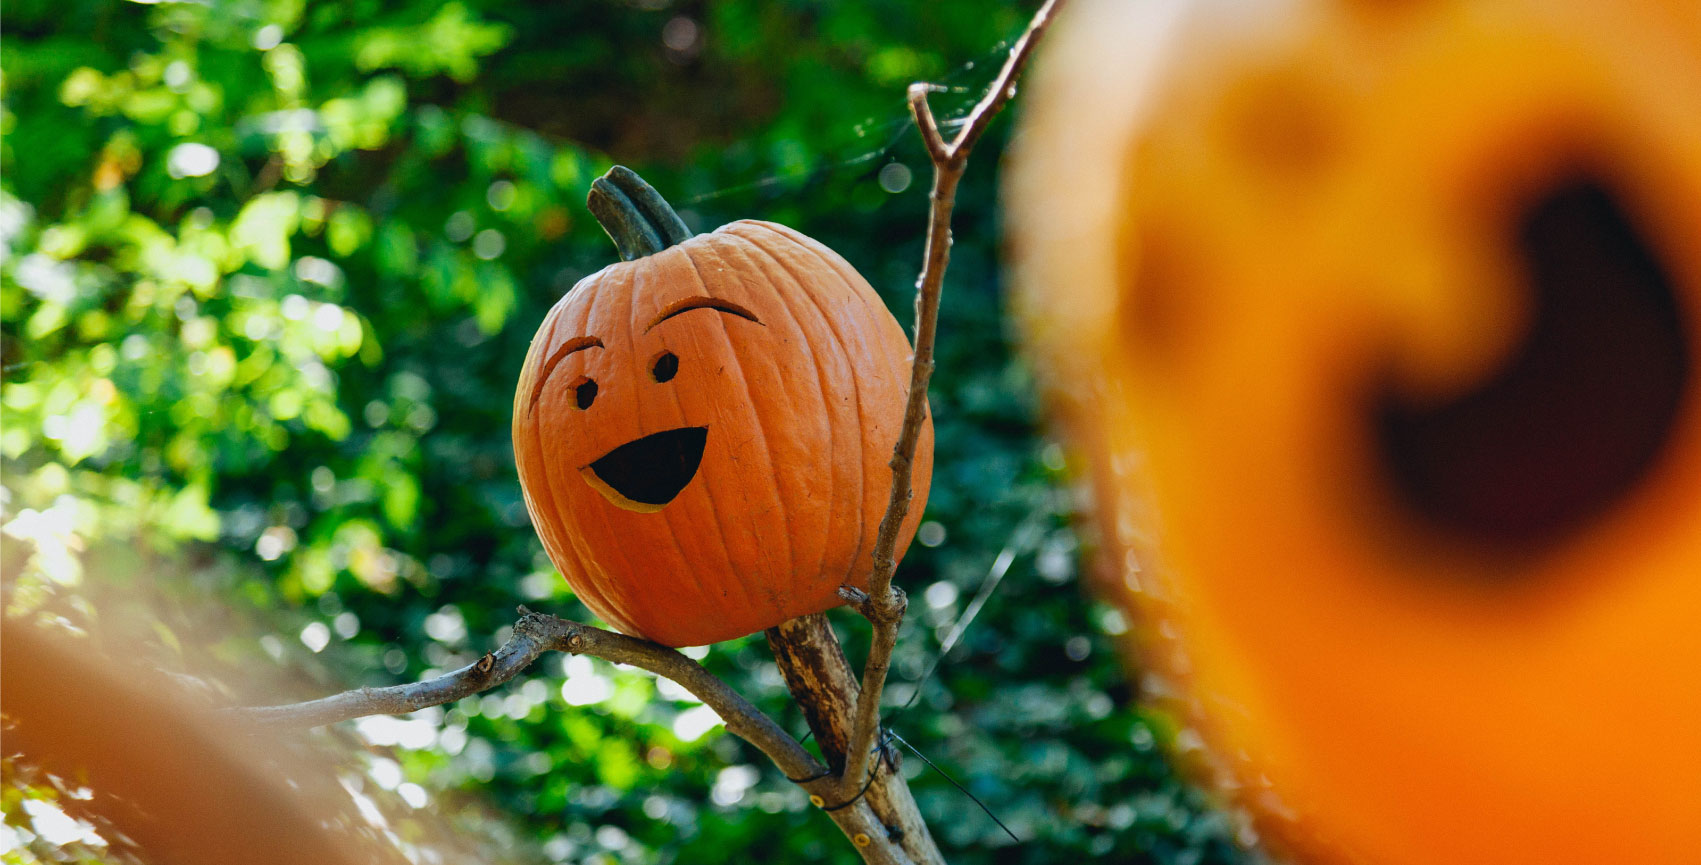
Final Touches
We recommend adding a small little 'chimney' at the top of your pumpkin. The smell of burnt pumpkin really isn't something you want in your home so by adding a small chimney the inside won't burn by candlelight.
In addition, you can add some cinnamon or ginger to the roof of the pumpkin, these tips will leave your home smelling of sweet pumpkin pie, an American classic.
With the more chunky pumpkin pieces, you can get creative and carve small pieces to really add to your pumpkin, eyes, a nose, even a tongue.