2,768 REVIEWS
How To: Re-planting Pot bound Shrubs in containers
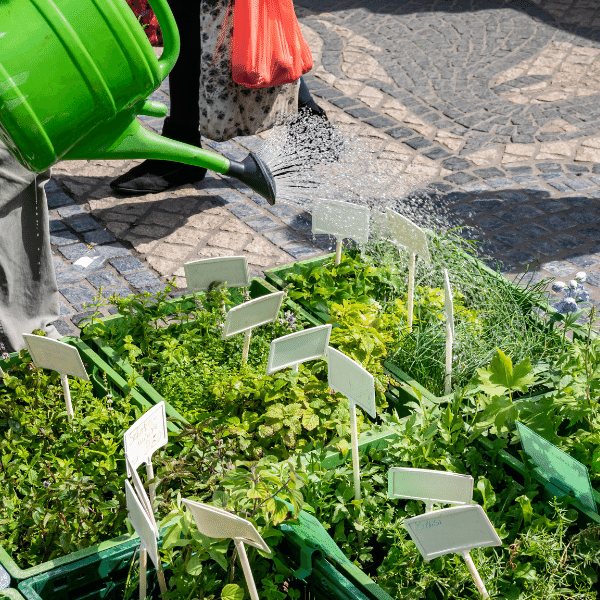
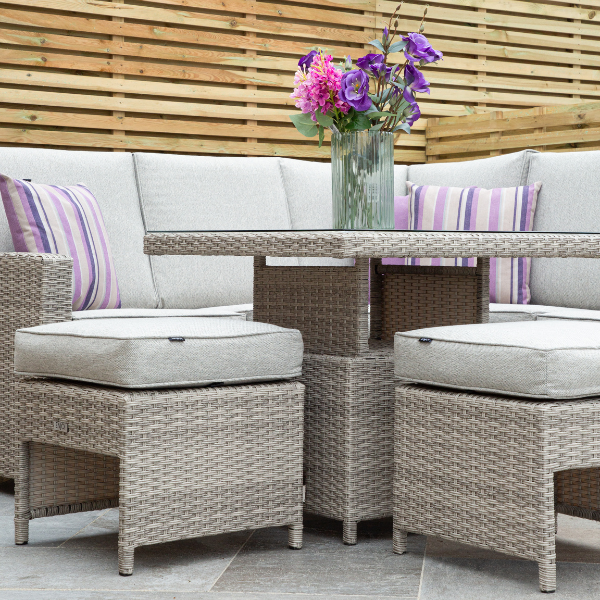
Spring has kicked off and we know many of you are getting your hands dirty in the garden. We want to bring you some helpful hints to get you out in the garden if you are not doing so already. If you are fortunate enough to have a garden then you have no excuse to be bored. There are always jobs that need doing and hopefully this simple guide will give you a hand if you were a little unsure.
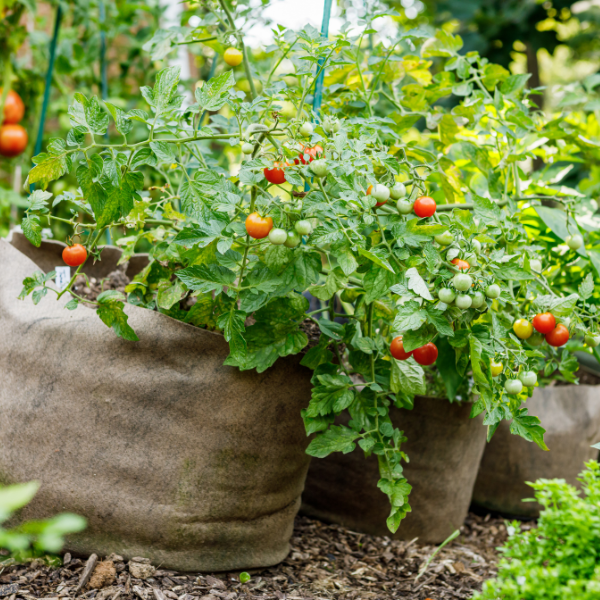
Any shrub or plant that has been potted into a container will only last for so long before it exhausts the soil or compost it is in or becomes root bound as it has become too large for the pot.
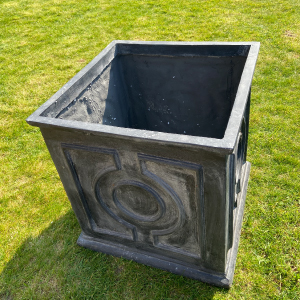
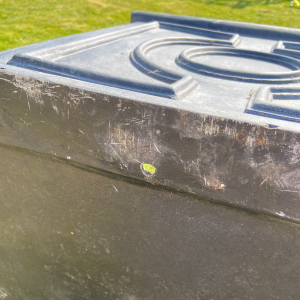
Step 1 - Preparing your container
Whichever container you choose to plant in, firstly make sure it has sufficient drainage in the base so the container can drain and doesn’t become waterlogged. It may be worth adding some additional drainage holes if you can drill the container. We’re using a fibre clay planter here so can easily add some extra holes around the edge.
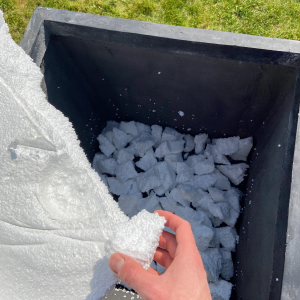
Step 2 - Adding drainage material
Traditionally ‘crocks’ are added to the base of pot or container which can be stones or pieces of broken tile. If like us you’re using a large container you can use polystyrene broken into pieces as this acts a perfect drainage material and doesn’t add any additional weight to the container.
Step 3 - Removing the existing plant
Now you need to remove the shrub from its existing container, hopefully this can be done easily by laying the container down on its side and
Carefully sliding it out. If the shape if the pot is not tapered and has a narrower opening at the top you may need to carefully dig around the side with a small hand fork to loosen the soil until the plant become loose enough to remove.
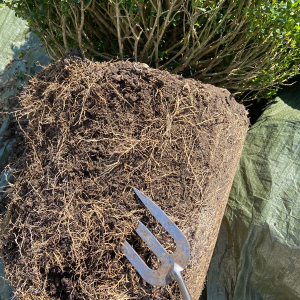
Step 4 - Teasing the roots out
The roots of the plant will probably be very congested and form a thick mat at the base. Carefully tease out the roots with a hand fork so when planted the roots can easily penetrate the fresh new soil
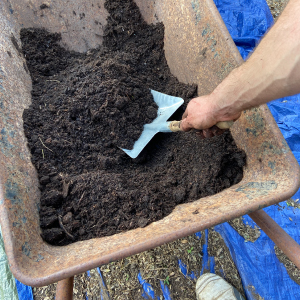
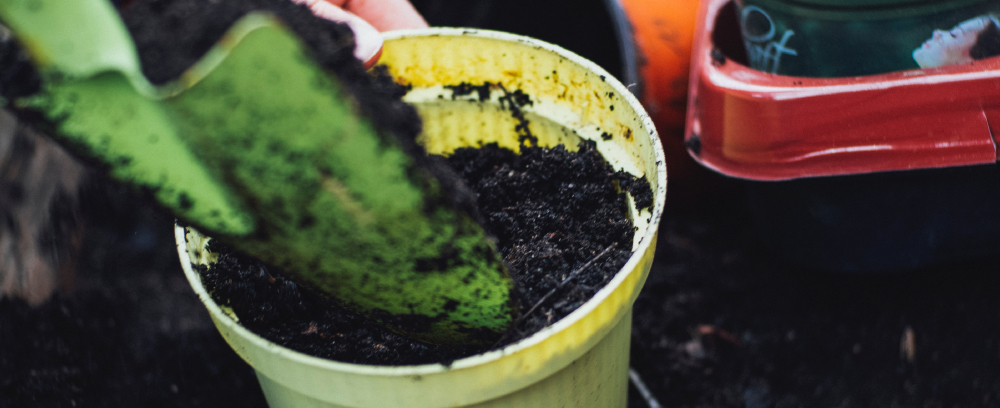
Step 5 - The compost mix
For most container grown shrubs is recommended to create a slightly heavier mix as multi-purpose compost although great for bedding plants it can be a bit light and dry out too quickly. We’ve used mix of equal parts of multi-purpose compost, top soil and farmyard manure and mixed this together thoroughly in a wheel barrow. Now is a good time to also add in a slow release feed which will break down slowly over time.
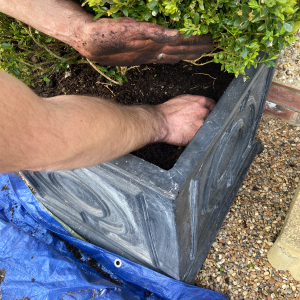
Step 6 - Planting
Add a generous layer of your compost mix to the bottom of the planter and firm down well, especially around the edges of the container.
Measure the height of the root ball and check this in the new container to get the finished lever right. Ideally a gap of 1-2” is recommended for watering so it doesn’t over flow the rim of the pot. Carefully lift the plant into the new container and start to fill around with the compost/soil mix and firm around as you go.

Step 7 - Watering
It is essential that you give your newly planted shrub a good water in to give it the very best start.
Once watered you can add a layer of decorative gravel or chipped bark to the surface of the compost to help retain moisture in the container.
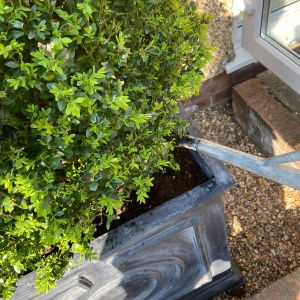
Step 8 - Tidying Up Those Edges
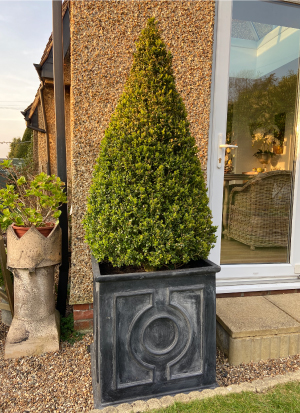
The final stage is just tidying up those edges. Things can get a little frayed during the re potting process and will just need a quick trim. Take a pair of secateurs and just tidy those edges. It will give it a pristine finish to really show off the work you've been doing.
There you have it, your new piece de resistance. With these simple steps you will have transformed your Shrub or plant into a centre piece and set to continue growing. You will definitely be getting some compliments next time you have friends or family over.