2,768 REVIEWS
Terrarium Tips
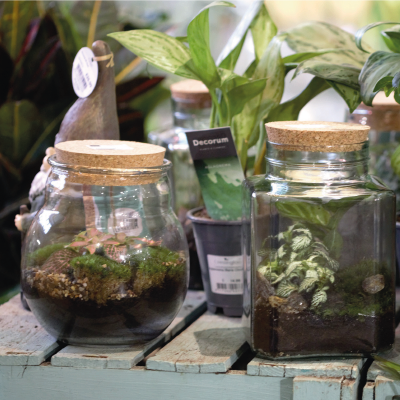
Where to start when making your own
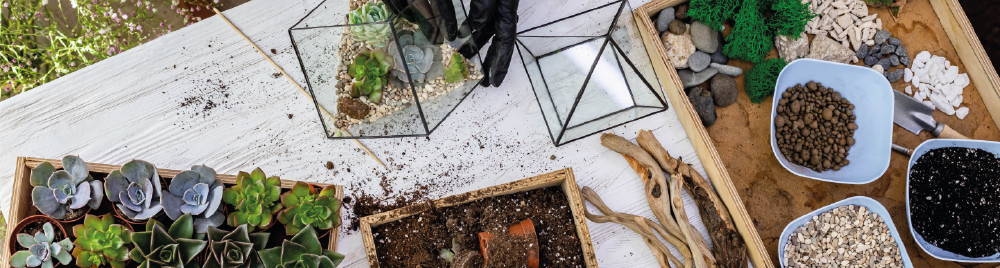
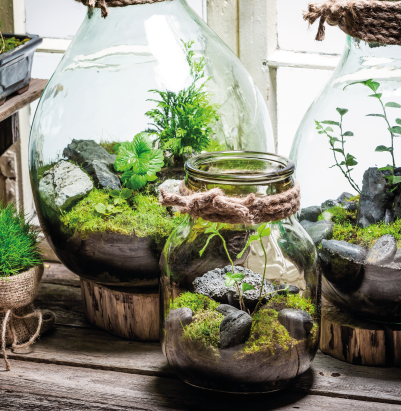
- You can either buy a glass terrarium jar or make one of your own out of a food jar, fish bowl or vase.
- Start by filling it with half the amount of the layer of soil you plan to use. Place rocks, stones and driftwood in any design you like. The great thing about making your own is that each one is totally unique, you can play around with the composition, textures, and colours. Leave space for the plants where you can make holes in the soil.
- Now time for the plants! Make holes big enough for the roots of the plants and place them to make sure they fit before you remove them from their original pots. Be careful when removing the plants, you want to prevent as much root breakage as possible to give them the best chance of establishing their roots into the new soil.
- Position the plants in the thin layer of soil and add the second layer of soil around the plants. Press somewhat firmly – the new soil level should be about the same level as the soil of the plant’s original root ball.
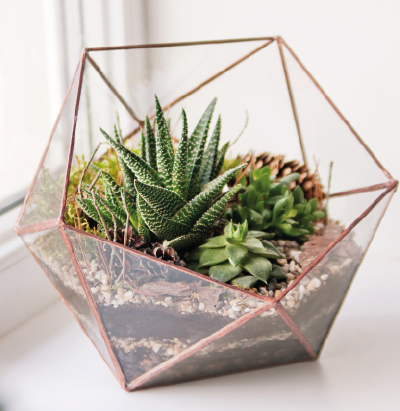
- Get creative and mix up the plants, colours and sizes.
- You can even dress up the jar. We recommend tying brown string around the rim of the jar to give it a nice rustic natural look.
Which plants are suitable for terrariums?
- Ferns – Maidenhair, Birds nest, Button ferns
- Airplants – Tillandsia
- Carnivorous plants – Venus fly traps, Pitcher plants, Sundew plants
- Dwarf palms
- Succulents- cacti, Hawthornia, Echeveria, Crassula, etc.
- Peperomia
Keeping the terrarium plants alive!
- Keep them in the sunlight (only if their open terrariums). If they get enough light, they may even produce flowers.
- Trim off and remove any dying parts
- Open terrariums benefit from being watered every 3-6 weeks so are a great option for plant parents who don't have much time to look after needy plants!
- Using terrarium stones are great for absorbing excess moisture
Search the Blog
Recent Posts